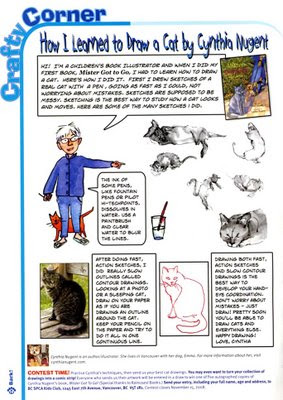
Recently I did some artwork for the SPCA's BARK! magazine. I used ComicLife and a blueline technique to develop the final drawing.
 Since reading a great tutorial by Zub on using a coloured line to refine drawings I've regained a lot of pleasure in my work. Normally I really enjoy doing the roughs, then get very anxious about turning them into final drawing
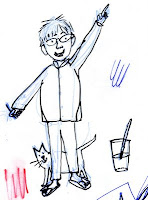
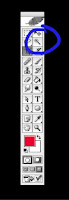 without destroying the good watercolour paper with erasing. But now I'm scanning the rough and opening it in photoshop. I use Image>Adjustments>Color Balance, or the the keyboard shortcut Control/command B to change the rough to a bright colour. Then print this out and refine the drawing using pencil. Scan in again and use I use the wand instrument to select the coloured lines, then hit delete. Clean up the drawing using levels and the erase tool. (See my tutorial "Turning pencil drawings to "ink" in photoshop" for a tutorial on cleaning up drawings.) To further refine the drawing you can colour it, print it out and draw over it again. I recommend saving and labelling each successive draft as draft 1, draft 2 etc. It's a good idea to print the colorized cleaned-up draft very pale to draw over again with pencil. You can control the darkness of the printed line in the levels menu (>image>adjustments>levels OR keyboard shortcut command/control L) by moving the Output slider bar at the bottom.
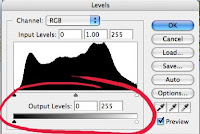 Repeat the process , progressively refining the drawing for as many times as it takes. Finally, I print it out directly onto 90 lb watercolour paper, controlling the output in levels so the line looks like ink or pencil. I just bought a printer off Craig's list for $20. It's an hp deskjet 1220C that prints as big as 13x19. It's slow but the reproduction is terrific. So going from rough to final line drawing has just become fun for me.
No comments:
Post a Comment